How to install Wireshark on Windows
Hi, this is a simple step by step guide to installing Wireshark on a Windows computer.
Wireshark is a free open-source packet analyzer (sniffer). It is used for traffic monitoring, network troubleshooting, software, and communications protocol development.
Wireshark can read all OSI model layers separately and detail packets that go through your network, giving you more power over your network traffic and making troubleshooting very effective.
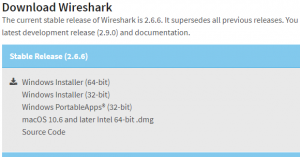
1. Download Wireshark from the official website according to your system type (either a 32-bit or a 64-bit Windows installer):
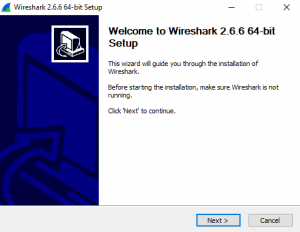
2. Run the installer, click Next:
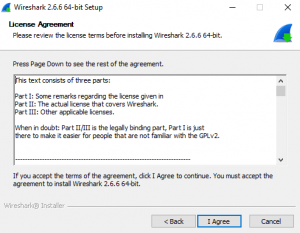
3. Click “I agree” on the License Agreement screen:
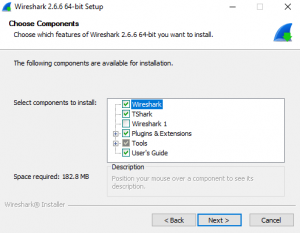
4. On the Choose Components screen let everything as is and click Next:
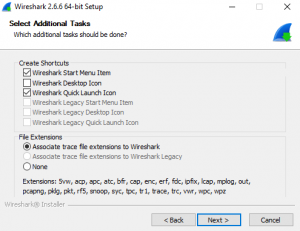
5. Leave the default settings on the Select Additional Tasks screen and click Next:
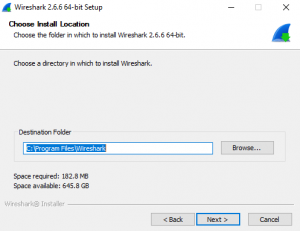
6. Choose your desired install location on the Choose Install Location screen and click Next (I leave it at the default):
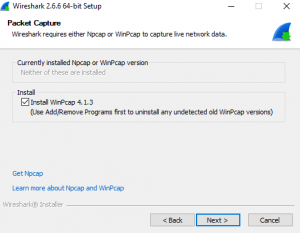
7 Packet Capture – click Next:
8 USB capture – Next:
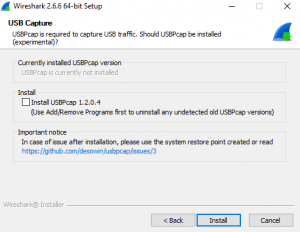
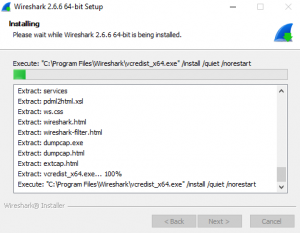
At this point, the installation process begins:
9. During the Wireshark installation process, the WinPcap setup wizard will launch. WinPcap is a required component for Wireshark to capture live network data. Click Next:

10. Click I Agree on the License Agreement screen:

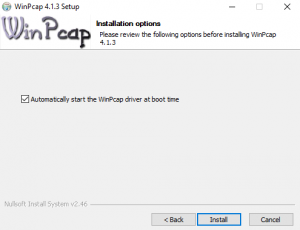
11. Click Install (“Automatically start the WinPcap driver at boot time” should be checked):
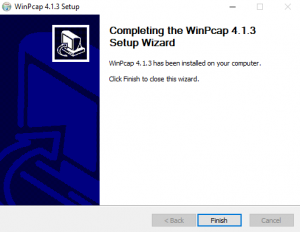
12. Click Finish on the “Completing the WinPcap Setup Wizard” screen:
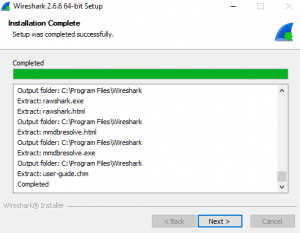
14. On the Installation Complete screen click Next:
15. On the “Completing Wireshark Setup” screen check the “Run Wireshark” box if you want it to open right after the installation. Then click Next to go ahead and launch Wireshark:
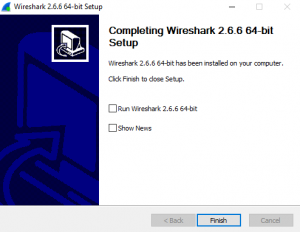
This completes the installation of Wireshark.
No comments here yet. Be the first!